• Skip to main content
  • Skip to footer

The BizPal Company

All Things Web

  • Home
  • What We Offer
    • Starter Website Design and Build Service
    • Website Store
    • DIY Website Builder
    • Domains and Hosting
    • Websites and Marketing Services
  • Blog
  • About Us
    • Events
    • Testimonials
    • Press
    • Contact Us
  • Log In
Home » WordPress » WordPress: How to Add and Work with Plugins

WordPress: How to Add and Work with Plugins

November 9, 2015 By Becky Bruso

  • Is Your Website Name Available? Search Right Now!

    Domain Search
power-plug-309142_1280Today’s topic will be to show you how to install plugins on your WordPress web site.  We will learn how to install a couple of very basic plugins.  Plugins allow you to add features to your web site front and/or back-end.    First we will review what plugins are.  Then we will go over the how to install two very basic plugins.  As with my other WordPress how to’s, I have included the video instructions on doing this, together with a what can go wrong feature. 

What are WordPress Plugins?

According to WordPress.org, plugins are ways to extend and add to the functionality that already exists in WordPress.  The word “extend” is really a tough definition to absorb if you aren’t of the tech world.  I prefer to use examples of types of functionality that can be added.  I also like to talk about the use of the word “extend”.  Typically in tech speak, extend has been used to describe additional software code which works without breaking the original code and adds functions which were not available in the original code.   The plugin code must also play by the rules of the original code.  And finally, the plugins must do all this really great stuff without slowing down the processing and load time of the pages/posts of your web site.    Some examples of plugins which are used on various web sites are e-commerce stores, social media share /follow buttons, events calendars, adding editing features, and enabling downloadable files.  Chances are whatever features and functions you want to add to your web site to allow your users to do; you will find a plugin for it. 
TinyMCE Plugins
TinyMCE Advanced and TinyMCE Spellcheck Plugins
The plugins we will install today will allow you to extend (there is that word again) or add to the basic editing settings you have with the core WordPress Installation. 

Video Demonstration  of How to Install a Plugin

Written Instructions of How to Install a Plugin

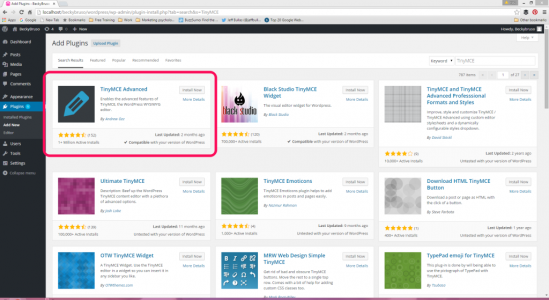
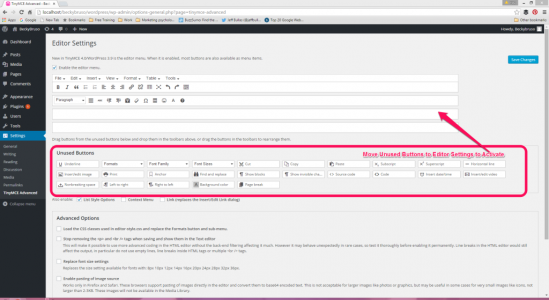
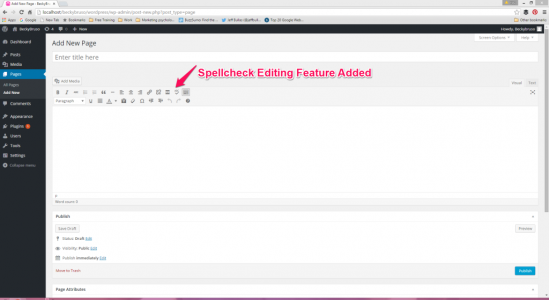
I selected this plugin as it will really add to your ability to edit your posts.  With the generic install of WordPress, you get a very limited ability to edit. 
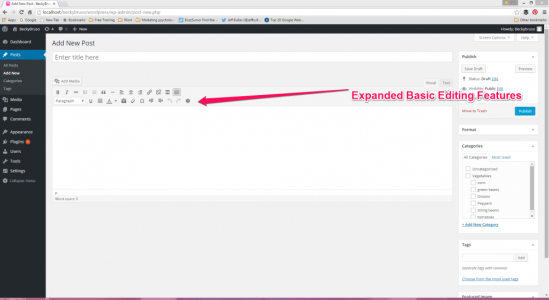
WordPress Editor Settings
WordPress Editor Settings | Toggle on
For example, you have the ability to do only the following editing items in the visual mode:
  • Make Text Bold
  • Make Text Italic
  • Strike through Text
  • Create Bulleted Lists
  • Create Numbered Lists
  • Add a block quote
  • Add a horizontal line
  • Justify Text Blocks Left
  • Justify Text Blocks Center
  • Justify Text Blocks Right
  • Add and Edit Links
  • Add a “More…” Tag
  • Make text Paragraph, headers, or preformatted
  • Underline Text
  • Justify Text
  • Change Text Color
  • Paste as Text
  • Erase Formatting of Selected Text
  • Add Special Characters
  • Decrease Indent
  • Increase Indent
  • Undo Edit
  • Redo Edit
  If you are not seeing all the options I have described, click on the Toggle Toolbar Icon as shown and you will note your editing features expand to include all of the ones I have described.  These next images show you what the editor looks like without the toggle toolbar button clicked. WordPress Basic Editing Features | toggle off Then, with the toggle toolbar button clicked.
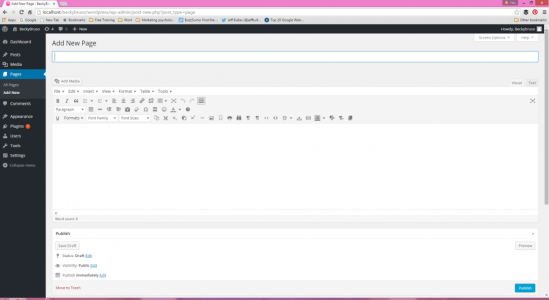
Installing a Plugin

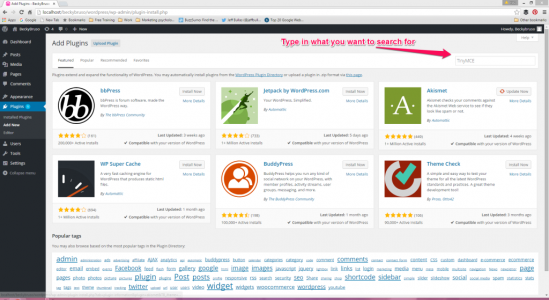
To install a plugin go to the Plugins on the dashboard, click on Add New.
WordPress Add New Plugin
  We will look for TinyMCE and install the TinyMCE Advanced First.
WordPress Plugin Search
WordPress Plugin Keyword Search
  Once you have typed in TinyMCE and hit enter in the search bar, you should see the TinyMCE Advanced Plugin. 
WordPress TinyMCE Advanced Plugin Found
WordPress Plugin Found
  Click on the Install Now Button, then click on the Activate Plugin Link. You will next need to select the editing options you want to add to your post and page editing area. This Plugin has added a dashboard menu item for TinyMCE Advanced under the Settings Dashboard Item. Click on Settings on the dashboard, and then TinyMCE Advanced to begin the setup.
WordPress TinyMCE Advanced Adding Unused
WordPress TinyMCE Advanced Editor Settings | Adding
  Here we will simply drag and drop the buttons which are located under the unused buttons section to the Editor Section.  I would suggest adding all the available features.  Save your changes when done.  I would not select any of the advanced options at this time unless you feel very strongly about your formats loaded with your theme.  If so, the select to load the CSS classes used in the Editor-style.css but know that you will then need to go to the text tab and need to get into the nitty-gritty of HTML if you want to add any fonts other than those which your theme says are okay.  After saving the settings,  go back into edit a Post or a Page from the dashboard, and take a look at your expanded editing options.    It is important to note that editing behaves the same for pages as it does posts with respect to the editing options we have just added.  Below is an example of our newly expanded options. 
WordPress Editor Settings Expanded
WordPress Editor Settings Added with TInyMCE Advanced Plugin
  Next we will install the TinyMCE Spellcheck.  Go back to the Plugins on your Dashboard and select Add New.  From here search for keyword TinyMCE Spellcheck.  Once found, hit install Plugin, then activate, you will have completed the setup for this plugin.  You may confirm this by going to your post or page edit or adding area and note that the spellcheck editing feature has now been added to your editing settings. 
WordPress TinyMCE SpellCheck Plugin
WordPress Adding Spellcheck Option with TinyMCE Spellcheck Plugin
Now you are all set to expand your editing abilities for posts and pages and you have some basic knowledge about what plugins are and how to  find and install plugins.     

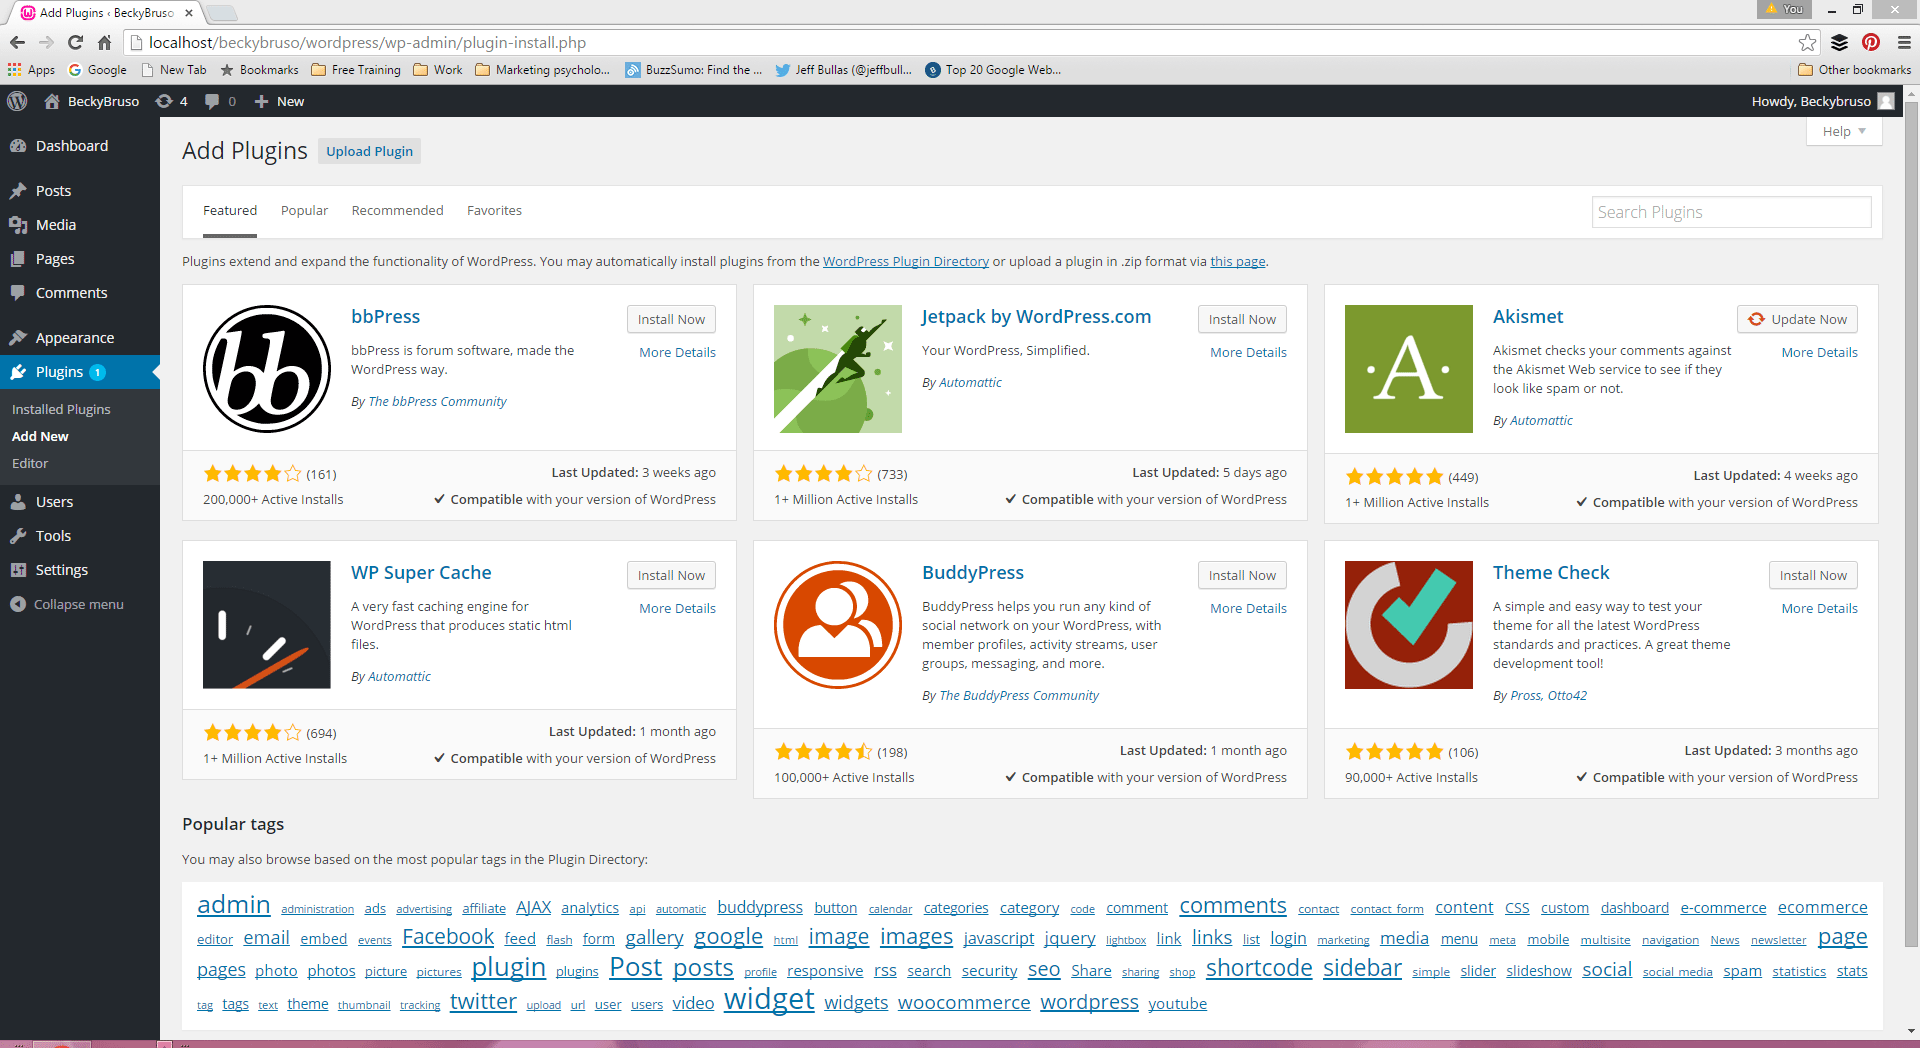
How to Decide if a Plugin Should be Installed                

To evaluate a potential plugin, I look at how many installations there are already for that plugin and whether or not the plugin is compatible with my current version of WordPress.   These two items are the must have’s for a plugin to be considered.
WordPress Plugin Selection Criteria
WordPress Add Plugin Criteria
Next, I will look at the ratings of the plugin by clicking on more details within the plugin add new display screen.  This will show you how may people have given this plugin a 5 star, 4 star, or lesser start rating.   This should be enough information to go on to move forward, but if you have a particular need to see some specific detailed information; you can also take a deep dive into the types of issues which others have reported when using this plugin.  

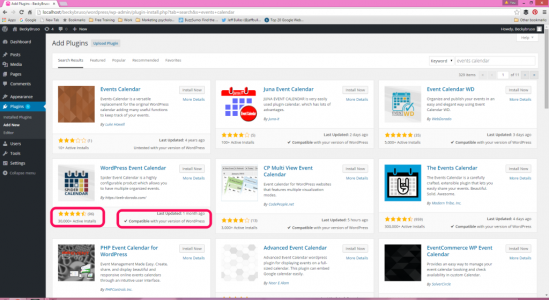
What Can Go Wrong When Installing a Plugin

Sometimes you might take a chance on a plugin and install it only to have it fail.  You might wonder, how will I know if It fails? Unfortunately, a failure of a plugin will be really obvious.  It will break your site.  It will show up typically as a screen that has a lot of orange and code words on it like the one below.  Typically, with a plugin failure, you can simply scroll down below this table of information and find and deactivate the plugin.  This should cure most ills with failed plugins.    
WordPress Broken
Plugin Site Break Example for WordPress
If you ever experienced this sort of problem, you will know why it is so important to work with and install those plugins which are
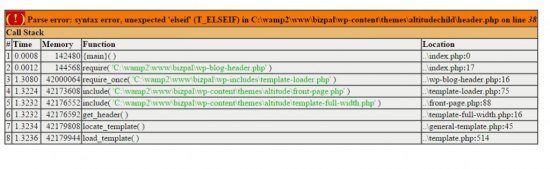
1.) Highly used by a large number of WordPress Sites. 2.) Compatible with your WordPress version. 3.)  Recieved the highest  ratings. These three pre-checks can save you a bit of grief when adding plugins to your site.   
You might also Google with a search for “the best plugin to …” and add whatever function you might be looking to add.  There are numerous WordPress bloggers in the community who write about the best they have found.  Stand on the shoulders of giants and learn from what they have to say about these plugins.      

Search This Website

Quick Links

Footer

Buy now with PayPal

We Accept PayPal for All Website Products and Services


Location

30 Lyons Street

Southbridge, MA 01550

In Person Or Virtual Meetings Available by Appointment Only
Mailing Address

PO Box 146

Southbridge, MA 01550


Join BizPal Email List

Connect with Us

  • Email
  • Facebook
  • LinkedIn
  • YouTube

Search This Site

Constant Contact Solution Provider

  • Blog
  • Privacy Policy
  • Sitemap
  • Website Store
  • FAQs

Copyright © 2023 · The BizPal Company